The printserver as initially set up used my old RPi model B, the original RPi that only has an RJ45 ethernet connection so I had to connect the printserver to the network router using a network cable. This was a real limitation as it meant that I had to co-locate my printer and router.
Looking on Pimoroni’s web site I saw that they were selling the new RPi model 0W for about £9.60. The 0W model has built-in wi-fi and bluetooth, and is about half the size of the model B. With the built-in wifi configured, I could put the printserver anywhere I wanted (as long as it’s in wi-fi range) with no external hard wired network connection.
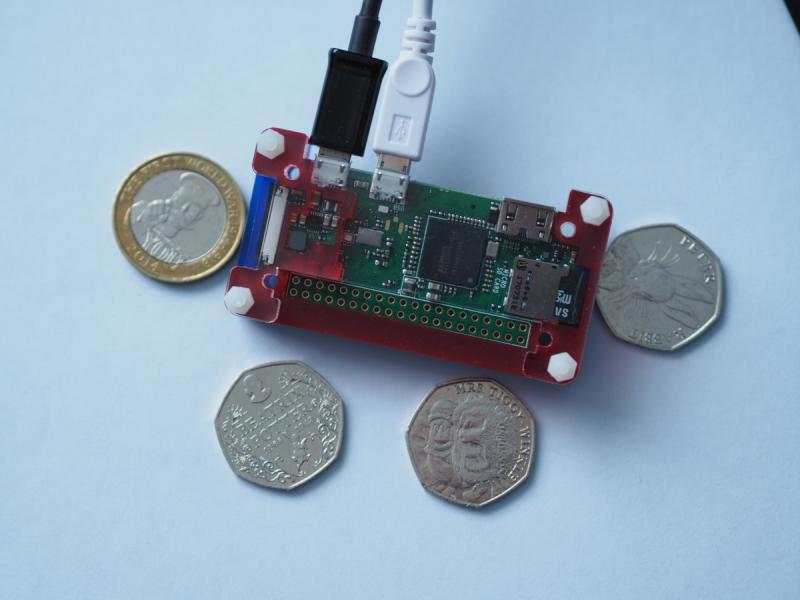
The photo below shows how small the RPi is against a collection of coins (note the Kitchener £2 and Beatrix Potter 50p coins, nice).

Configuring the RPi was simple. I had to create a new kernel build for the board, set up the wi-fi configuration files and all the printer bits as before, and then let Buildroot do all the hard work.
Needless to say it all worked perfectly. As you can see in the photo, there are two connections to the RPI, one is for power from the printer USB input port, the other is the output to drive the printer. Simples…eh?

From Mrs proof reader…….ahem, those coins are Beatrix Potter, not Enid Blyton. Also, what’s this got to do with the Retail Price Index?