New PI

My RPI 3 Model B is now in permanent use as my Kodi set top box which is attached to the TV to allow us to watch free TV and is no longer available for experimenting with. I needed to get myself a new PI for play purposes so I ordered a RPI 3+ Model A from Pimoroni. The model A lacks the Model B’s RJ45 network interface and only has 1 USB port rather than 4. However, it keeps Bluetooth and Wifi so there is no need for all the extra bits fitted to the B anyway.

The photo shows the PI 3+ A next to a loyalty card to demonstrate how small it really is. The PI is enclosed in a Pibow acrylic case to protect it, and it is shown connected to a thermometer via its I2C interface. The PI and case cost me about £35 plus £2.99 postage.

My next task is to design and build the application that takes the thermometer reading periodically and sends the info to a web page hosted elsewhere, create the root file system and a distribution so that the whole thing can be packaged and runs as soon as the PI is powered up.

Great fun…

Kodi

I strongly object to paying over £150 per year to the BBC so that I can watch Channel 4, ITV or other TV channels. I’m not too happy that we pay about £100 per year to Amazon Prime for access to their very limited content; we watch less than 1 film a month on Amazon, which is poor value for money in my opinion.

I could cancel the BBC license and Amazon Prime subscription and just use the internet for access to TV, but I’d need a nice easy way to do that.

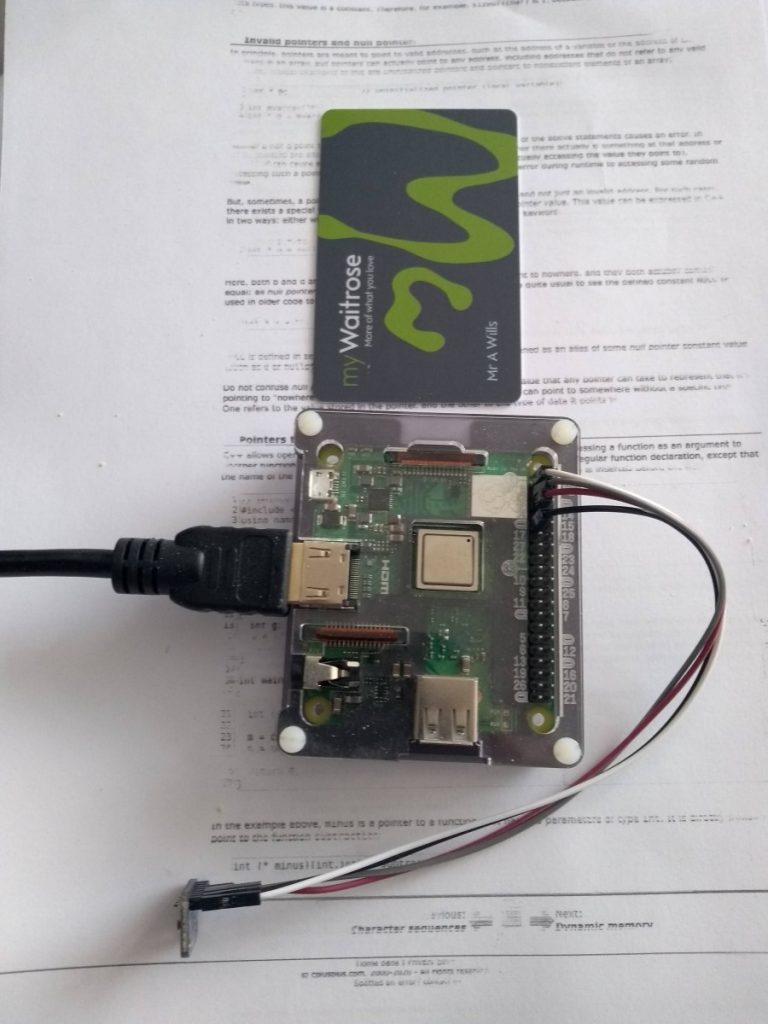
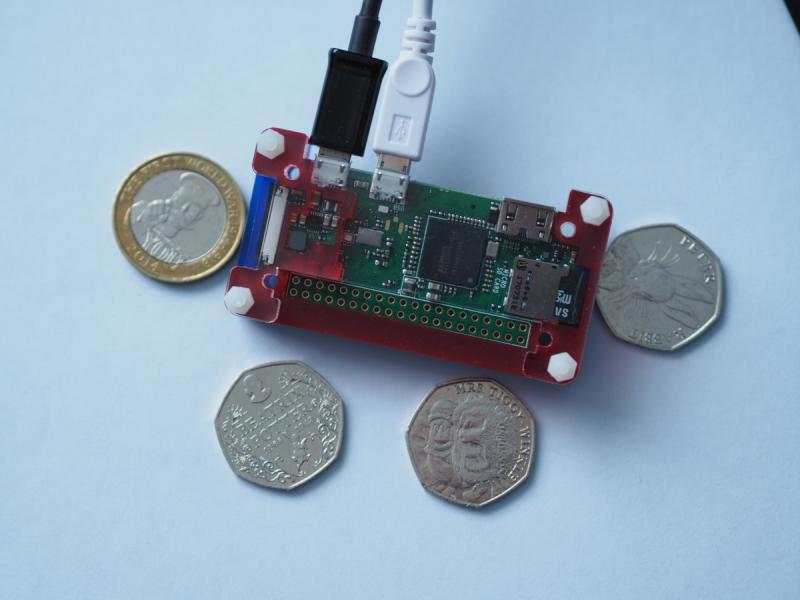
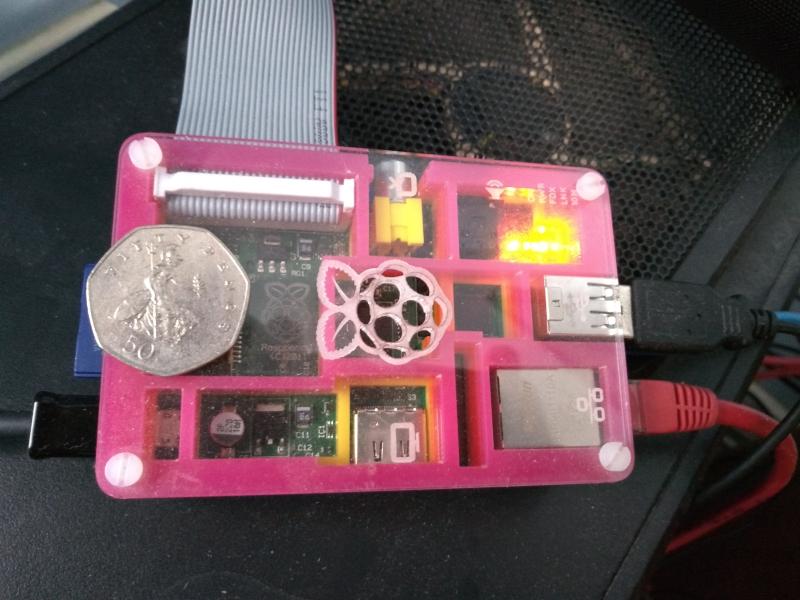
One option is Kodi. Kodi runs on small Linux computers, set top boxes and things like Amazon firestick. I have a Raspberry Pi which is a small Linux computer so I decided to give Kodi a go.

Initially I used Buildroot and configured a very small kernel that included Kodi, but that didn’t work out too well. My config with Kodi ran very slowly and was unusable. I had to look for a better solution.

Then I found LibreElec, https://libreelec.tv/ who have created a number of Kodi downloadable images, including some for the various versions of Raspberry Pi. I read LibreElec’s documentation and decided to download a suitable image and give it a go.

Kodi itself doesn’t provide a lot by itself; it provides an application from which content is accessed via its numerous add-ons. I installed the ‘Scrubs’ video content add-on which gave me access to a vast number of films, TV shows, Sky channels and much more. I also installed the iPlayer add-on for access to BBC and a Youtube add-on.

The Raspberry Pi is a model 3 with 1Gb of RAM, 100 base ethernet, Wi-fi, bluetooth and HDMI so connects to my router via an ethernet cable and uses a HDMI cable to a spare HDMI socket on the TV. Power is provided by a small USB power adapter.

It’s brilliant. There are add-ons for all sorts of content from all over the world and it costs nothing. Well, the Pi was £35 plus a little more for its case. As the TV is CEC enabled, the TV remote control is used to navigate Kodi menus and interface.

It’s so good that I am now going to cancel my BBC license and cancel Fiona’s Amazon Prime subscription saving around £250 per year. I might even buy the new Raspberry Pi 4 which has a 4k video interface. Thumbs up for LibreElec and Kodi.

Update December 2020

As I have now purchased a Chromecast with Google TV. This super little device provides Kodi, Youtube, Plex, Netflix, Amazon and a whole host of other streaming services so I have decommissioned the Pi and returned it to the bedroom.

Network scanner with ‘sane’

Previously, I had sorted out my home printer to use a RaspberryPI as a print server and so offer shared printing services on my home wi-fi. However, my printer is a Canon MP630 which is a printer and scanner.

I have a need to scan some old photographs but do not want to mess around disconnecting the MP630 from the RPi and reconnecting it to my main computer. I need to turn my RPi into a network printer and scanner controller that can be built as an embedded system using Buildroot.  With this as my main requirement, I ‘googled’ ‘network scanner linux’ software and in the search result was the name ‘saned‘ .

A bit of investigation followed; could sane be easily configured in Buildroot? what supporting files did I need to create?. There is a ‘sane-backends’ directory in the Buildroot ‘package’ directory, so after 30 minutes or so of reading I decided to give it a try. The steps needed were:

  1. enable ‘sane-backends‘ in the root system configuration to be used by Buildroot to create the root file system
  2. create an overlay file saned.conf which determines who can access the network scanner
  3. create a startup file in /etc/init.d called S91scanner which starts/stops/restarts the sane network daemon to automatically start the network daemon at startup.
  4. define the sane network port in a /etc/services overlay file
  5. then tell Buildroot to build me a new root file system.
  6. move the image to a micro-SD card and boot the RPi
  7. On any client system install something like xsane which is a scanner front end.

Amazing, I was able to scan photographs in remotely on the scanner, and then print them from the remote printer/scanner using the RaspberryPi 0W as the print & scan server.

More on the RPi printserver

The printserver as initially set up used my old RPi model B, the original RPi that only has an RJ45 ethernet connection so I had to connect the printserver to the network router using a network cable. This was a real limitation as it meant that I had to co-locate my printer and router.

Looking on Pimoroni’s web site I saw that they were selling the new RPi model 0W for about £9.60. The 0W model has built-in wi-fi and bluetooth, and is about half the size of the model B. With the built-in wifi configured, I could put the printserver anywhere I wanted (as long as it’s in wi-fi range) with no external hard wired network connection.

The photo below shows how small the RPi is against a collection of coins (note the Kitchener £2 and Beatrix Potter 50p coins, nice).

RPI 0W

Configuring the RPi was simple. I had to create a new kernel build for the board, set up the wi-fi configuration files and all the printer bits as before, and then let Buildroot do all the hard work.

Needless to say it all worked perfectly.  As you can see in the photo, there are two connections to the RPI, one is for power from the printer USB input port, the other is the output to drive the printer. Simples…eh?

Raspberry PI print server

I’ve wanted to sort out our home printing set-up for some time. We have a Canon printer which is connected via a USB cable to our desktop PC so whenever we want to print from the Mac we have to boot up the desktop. Our printer is not a network print server.
I’ve owned a RaspberryPi model ‘B’ since they were first sold, but had done precious little with it. It’s too low powered to be used as a real desktop and to use it so I would have to have another screen, mouse etc.
There is a really useful toolset called ‘Buildroot’ which allows a user on a Linux system to cross-compile and build a customised and very small  boot image for a very small computer, such as the Pi, so I downloaded the tools and played around to see what it could do.
There are some excellent tutorials on embedded Linux and Buildroot on the free-electrons web site which I pored over for many hours and after some playing managed to configure ‘Buildroot’ to build a dedicated printserver to run on the PI and offer printing to the other computers in our home network. The boot image is less than 150Mb so fits easily on a 256Mb SD card.

The Pi is now powered by the printer so when we switch the printer on, the PI automatically loads up and makes the printer available on our home network.

Here is the PI in its multi-coloured case, note it’s not much bigger than a credit card as can be seen below.

Raspberry Pi Model B, the original RPI

Raspberry PI computers are just brilliant. They retail from just under £10 and run Linux. Using Buildroot, you can create super low cost dedicated devices such as print servers, DNS servers, etc etc that attach to your home wireless networks. Just brilliant!.,

Here is what I did to make it all work:

  1. Download Buildroot to my Linux desktop and produce a configuration for the PI:
    1. mkdir piB; cd piB;
    2. ln -s ~/’buildroot directory‘ buildroot
    3. make -C ../buildroot O=$(PWD) raspberrypi_defconfig to create the default configuration for the Raspberry Pi model B.
  2. Modify the configuration to point to overlays, user table, patch, post-build, post-image directories
  3. Enable udev, dropbear, busybox, tinyhttpd, p910nd, kmod,
  4. Modify config nodename.
  5. Create overlay files for fixed IP address, printer startup, modules-load.d to enable usblp.
  6. Modify the printer startup script (S90printer in my case) to create the lock directory /tmp/lock/subsys
  7. Remove all the unnecessary graphics, sound etc stuff found in the default configuration.
  8. Build the config using make.
  9. Copy the configuration to SD card using ‘dd‘ with something like:sudo dd if=images/sdcard.img of=/dev/sdh ; sync ; sync
  10. Put the SD card in the PI and power it up.

Then, set up printing from the client computers. The PI printserver uses p910nd to listen on the network for print requests. Clients should access it at: socket://IPADDRESS:9100. To make this all work from the Mac I had to load the Gutenberg Canon printer drivers onto the Mac as the standard Apple Canon drivers do not work across sockets.

Loads of good info on p910 can be found at p910nd

It all works a treat.