
I’ve wanted to sort out our home printing set-up for some time. We have a Canon printer which is connected via a USB cable to our desktop PC so whenever we want to print from the Mac we have to boot up the desktop. Our printer is not a network print server.
I’ve owned a RaspberryPi model ‘B’ since they were first sold, but had done precious little with it. It’s too low powered to be used as a real desktop and to use it so I would have to have another screen, mouse etc.
There is a really useful toolset called ‘Buildroot’ which allows a user on a Linux system to cross-compile and build a customised and very small boot image for a very small computer, such as the Pi, so I downloaded the tools and played around to see what it could do.
There are some excellent tutorials on embedded Linux and Buildroot on the free-electrons web site which I pored over for many hours and after some playing managed to configure ‘Buildroot’ to build a dedicated printserver to run on the PI and offer printing to the other computers in our home network. The boot image is less than 150Mb so fits easily on a 256Mb SD card.
The Pi is now powered by the printer so when we switch the printer on, the PI automatically loads up and makes the printer available on our home network.
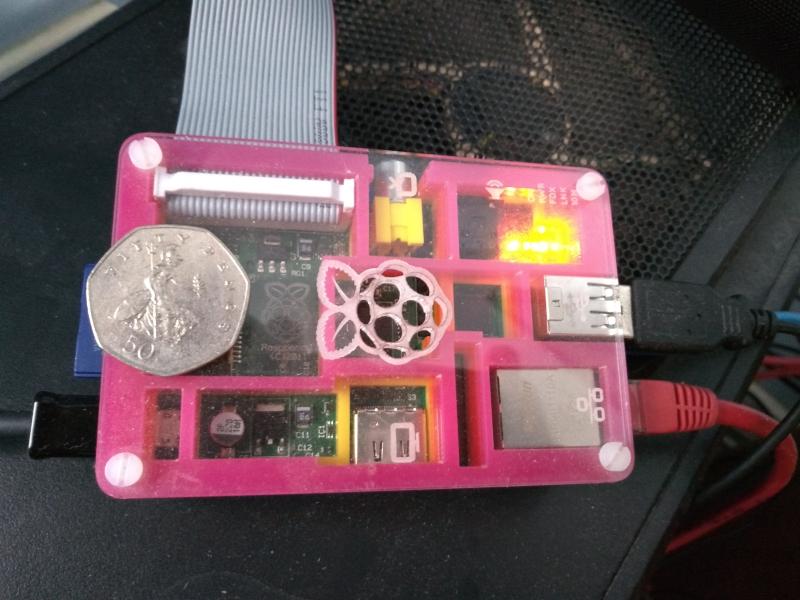
Here is the PI in its multi-coloured case, note it’s not much bigger than a credit card as can be seen below.
Raspberry PI computers are just brilliant. They retail from just under £10 and run Linux. Using Buildroot, you can create super low cost dedicated devices such as print servers, DNS servers, etc etc that attach to your home wireless networks. Just brilliant!.,
Here is what I did to make it all work:
- Download Buildroot to my Linux desktop and produce a configuration for the PI:
- mkdir piB; cd piB;
- ln -s ~/’buildroot directory‘ buildroot
- make -C ../buildroot O=$(PWD) raspberrypi_defconfig to create the default configuration for the Raspberry Pi model B.
- Modify the configuration to point to overlays, user table, patch, post-build, post-image directories
- Enable udev, dropbear, busybox, tinyhttpd, p910nd, kmod,
- Modify config nodename.
- Create overlay files for fixed IP address, printer startup, modules-load.d to enable usblp.
- Modify the printer startup script (S90printer in my case) to create the lock directory /tmp/lock/subsys
- Remove all the unnecessary graphics, sound etc stuff found in the default configuration.
- Build the config using make.
- Copy the configuration to SD card using ‘dd‘ with something like:sudo dd if=images/sdcard.img of=/dev/sdh ; sync ; sync
- Put the SD card in the PI and power it up.
Then, set up printing from the client computers. The PI printserver uses p910nd to listen on the network for print requests. Clients should access it at: socket://IPADDRESS:9100. To make this all work from the Mac I had to load the Gutenberg Canon printer drivers onto the Mac as the standard Apple Canon drivers do not work across sockets.
Loads of good info on p910 can be found at p910nd
It all works a treat.
Yeh, wot he said……;)